Sunday, January 9, 2022

It's all a Sham!

It's all a Sham!


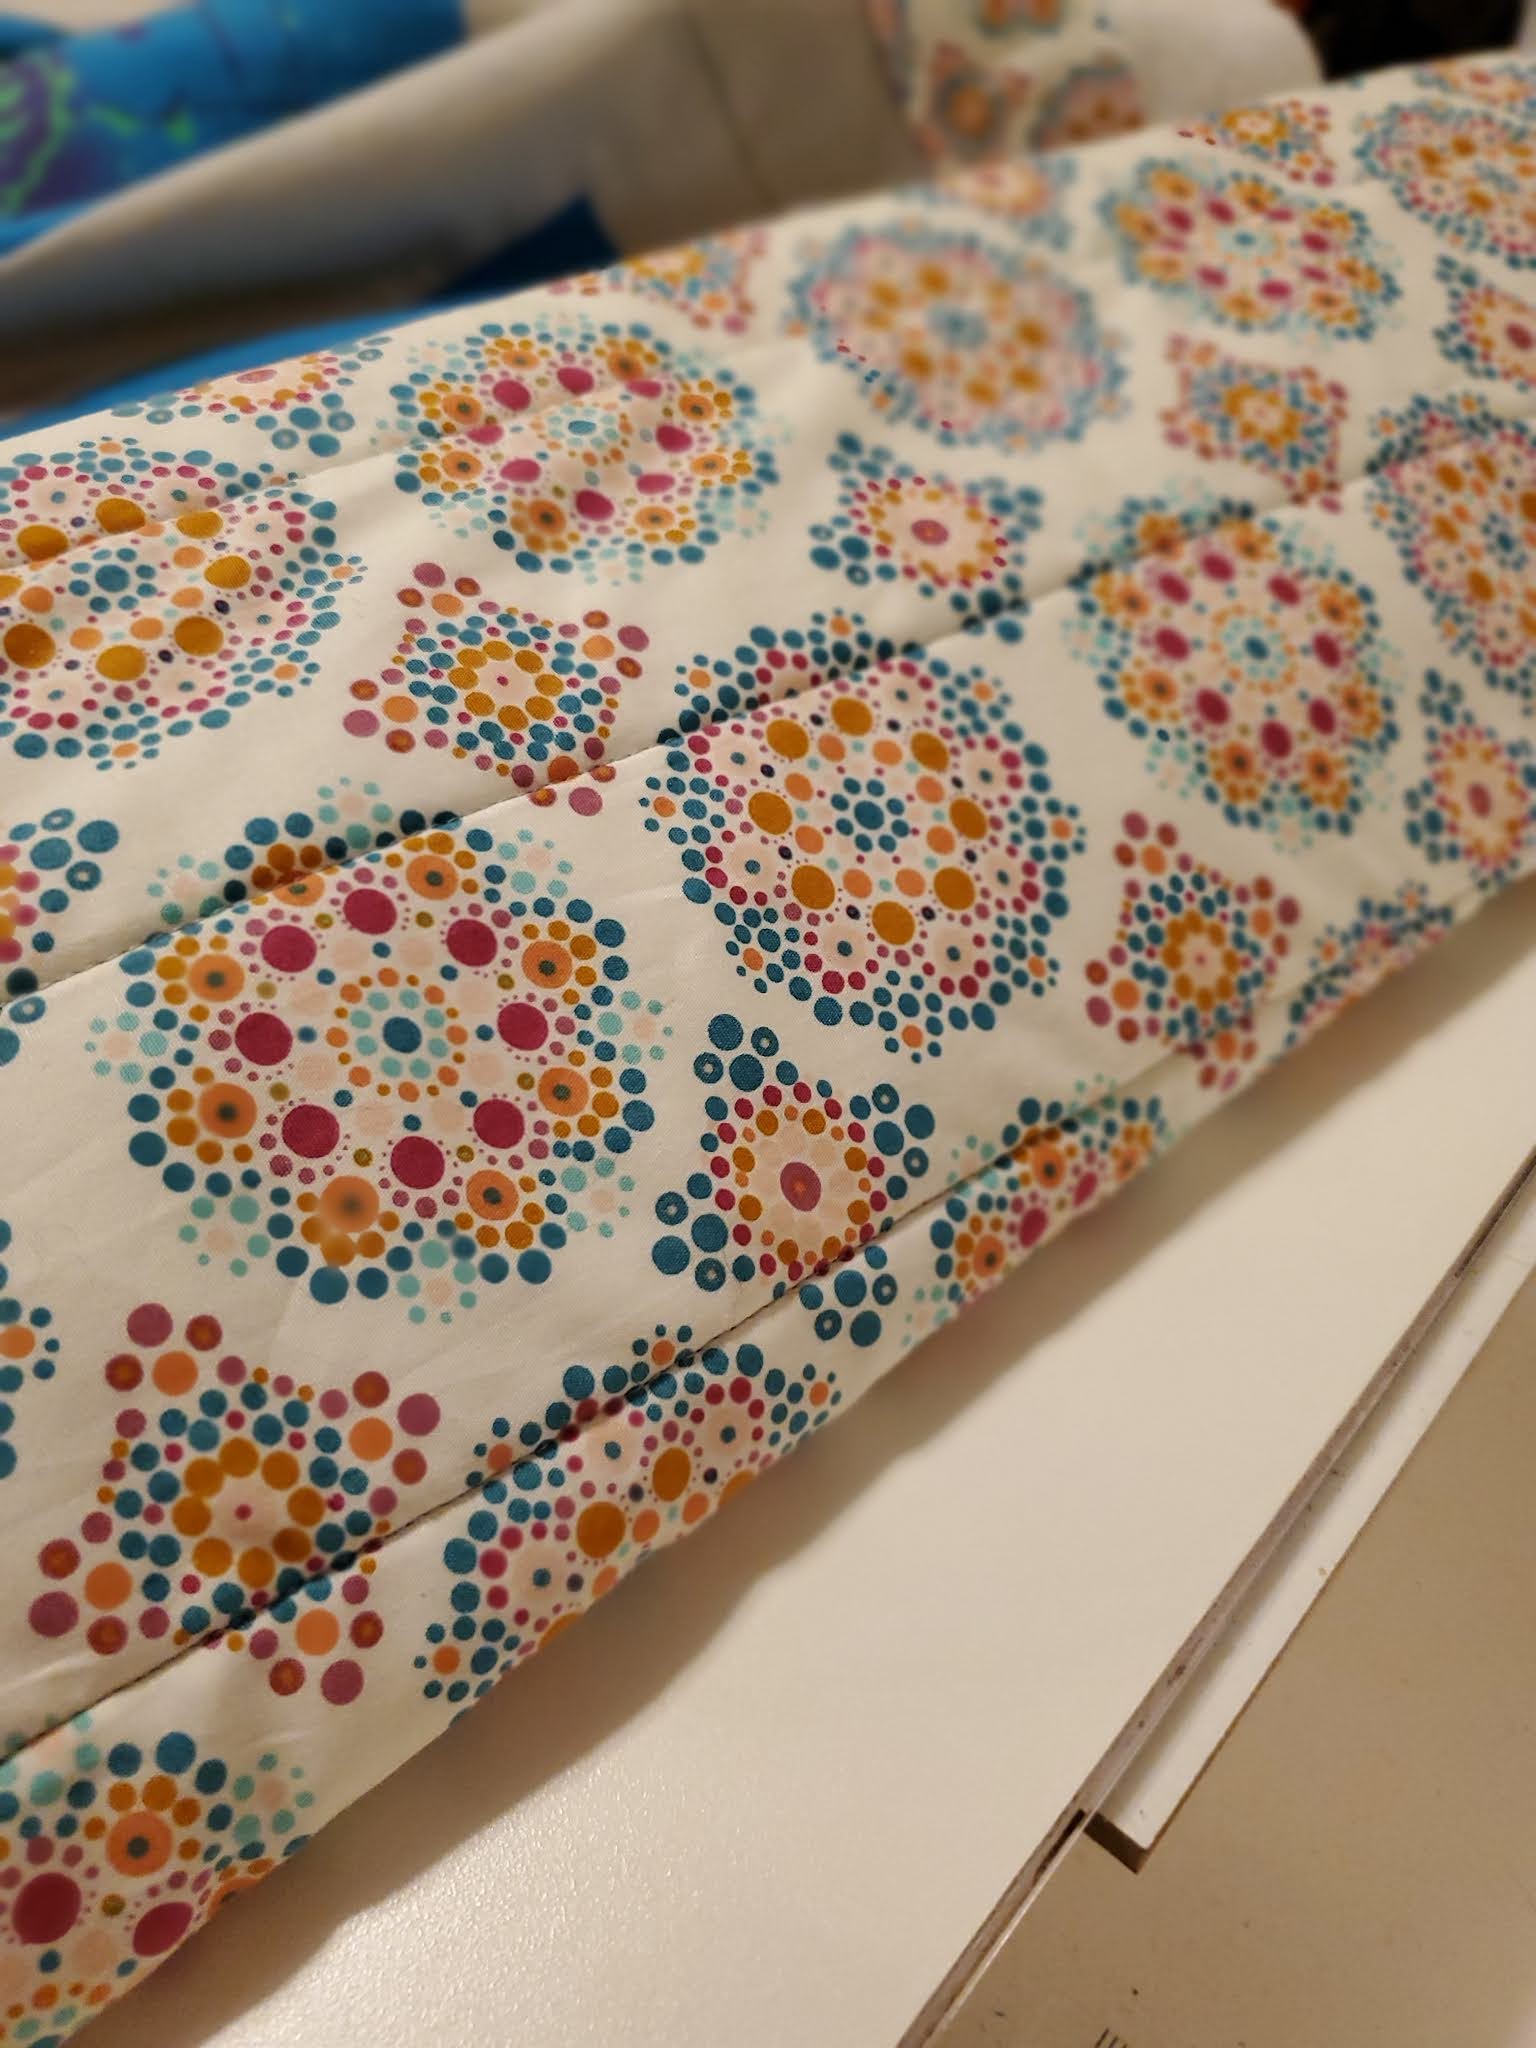
These Art Gallery fabrics have been hanging out in my sewing space for a couple of years. Originally, they were purchased to build my stash with fabrics that were outside my typical pallette to use as needed. Over time that changed, and they were then going to be used for making masks. My chosen mask patterns never did turn out quite big enough for me to wear comfortably to warrant continuing with that venture (though many sit there half finished). There the fabrics sat waiting for inspiration to hit once more.

An annual quilt challenge season resumed January 2 and inspiration struck. Not for a quilty project, but a new pillow sham! 

How I needed this project. Not tied to a challenge. Not tied to an obligation. Very quick and easy to assemble, this was perfect for getting me back to my sewing machine after such a busy 2021.


The fabric I had to work with was 5"×43" for each color. I cut those to 2.5"×43", then stitched them together on their long sides. With six fabrics, this gave me one large piece that was 24"×43" - perfect for most of the sham. 

All that was needed was fabric for the overlap of the sham. A couple of the prints had extra cuts, so I cut four strips to add just that little extra. Six strips were truly needed for the size of the pillow, however, I found a work-around. Bring in the one snap I had in my stash for the win!! A little hand stitching with a LOT of patience (my fingers do not like hand stitching anything), and the sham was complete. Yay! 


Have a jelly roll that needs a project? This one is quite simple. You can create any size sham. Make sure the sham finishes at the same size or even 1/2" narrower than the insert you want to use if the insert is not too firm. The overlap on the back should be 2 1/2"-3". (Mine was only 1 1/2" at best.) If the insert is firm, make sure the sham finishes at the size of the pillow.

Do you make shams? What is your favorite way to close them - overlap, zipper, something else? Share your ideas in the comments. 


On to finishing a WIP for the end of the year.


Keep quilting!

Fawn


Tuesday, June 1, 2021

June 2021 Monthly Color Challenge - Pumpkin!


June's block is beginner friendly from instruction through construction. Jen of Patterns By Jen has, once again, made a perfect pairing with block choice, colors, and food. To get your free block with instructions and "how-to" video, head over to her blog any time this month! After the end of the month, you can get this and past month's blocks for a small $1 fee in her Payhip Shop, plus find past years challenge blocks and her quilt patterns. So much quilty goodness is there.

There's always something satisfying when chain piecing - especially when making flying geese units. 


The 12" block completed:


The 6" block completed:


Both blocks - aren't they just great?!


For the couple of months I am participating this year, I carefully chose my blocks based on color so I could later make them into a fall table runner. Each month I have made the 6" and 12" blocks. They compliment each other nicely and will adorn my kitchen table come fall. 

The background fabric will be the smaller floral print, backing the larger floral, and the stripes will be the binding for a bit of flare. 


You'll have to come back later this year to see that runner in use with a fresh pan of pumpkin bars adorning its top. Here is a link to my go-to recipe: Pumpkin Bars 


Of course, I just couldn't wait for the table runner to be completed, so we have fresh baked pumpkin bars for dessert tonight! 


Yummy!


Please head over to the other bloggers' and see what they created for their June blocks and pumpkins:

Crystal - Daybrook Designs 

And...


Let's take the time to give a final "Thank You" to our second quarter sponsors. 


Daybrook Designs - 2 PDF Patterns

Fat Quarter Shop - Gift Certificate

Patterns By Jen - Tucker Trimmer 1 Ruler*

Appliques Quilts and More - $10 Gift Certificate

The Warm Co - 90 x 108 Warm and Plush 100% Cotton

Quilters Dream Batting - 60 x 60 Dream Poly*

Benartex - Fat Quarter Bundle*

Island Batik - Fat Quarter Bundle*

Make Modern Magazine - 6 month subscription

True Blue Quilts - Book: Monochromatic Quilts Amazing Variety*

For The Love of Geese - PDF Pattern

Bea Quilter - PDF Pattern


Those marked with * are for US residents only. Prize laws vary throughout different countries.

The final link-up for this quarter will open at Patterns By Jen later this month.

With that, keep quilting, take breaks as needed, and maybe enjoy your favorite pumpkin treat just because. 

Thanks!
Fawn

***Bonus Recipe***

I just have to share this second very delicious recipe that our family loves. Please note that for all recipes I share you can substitute your own frozen or home canned pumpkin (fully baked before freezing is what I do) in 1cup equivalents to every 8 ounces. If you have an extra ounce, it just adds flavor and moisture to what is being baked. Anyway...Old Fashioned Soft Pumpkin Cookies for more baking pleasure. Enjoy!


Monday, March 1, 2021

March 2021 Monthly Color Challenge - Yams!


Yams....or sweet potatoes? That is the question at hand when looking at March's focal color - red orange - for the Patterns By Jen 2021 Monthly Color Challenge . While the two are technically different, the names are interchanged for sweet potatoes. Let's take a closer look.

From the Library of Congress, "Yams are closely related to lilies and grasses. Native to Africa and Asia, yams vary in size from that of a small potato to a record 130 pounds (as of 1999). There are over 600 varieties of yams and 95% of these crops are grown in Africa. Compared to sweet potatoes, yams are starchier and drier.


The many varieties of sweet potatoes (Ipomoea batatas) are members of the morning glory family, Convolvulacea. The skin color can range from white to yellow, red, purple or brown. The flesh also ranges in color from white to yellow, orange, or orange-red. Sweet potato varieties are classified as either ‘firm’ or ‘soft’. When cooked, those in the ‘firm’ category remain firm, while ‘soft’ varieties become soft and moist. It is the ‘soft’ varieties that are often labeled as yams in the United States.


In the United States, firm varieties of sweet potatoes were produced before soft varieties. When soft varieties were first grown commercially, there was a need to differentiate between the two. African slaves had already been calling the ‘soft’ sweet potatoes ‘yams’ because they resembled the yams in Africa. Thus, ‘soft’ sweet potatoes were referred to as ‘yams’ to distinguish them from the ‘firm’ varieties."

Where does that leave me on color with the challenge? I chose to follow the sweet potato color way, and this year I am only making 4 blocks total. The 12" and 6" blocks for this month plus the same sizes for June. When looking at my stash, I did not want to use what has been seen - this was not about stash busting. So I searched for fabrics that called to me finding three old lines designed by Sandy Gervais for Moda through one of my local quilt shops, The Quilt Shop, called "Fall Back in Time", "Sweet Potato", and "Mix and Mingle". The colors coordinated perfectly and I formulated a plan to turn my blocks into a fun table runner. That table runner will be revealed later in the year.

I finally had the chance to use my new, wool pressing mat. It was time to truly test it by not using any type of sizing product. All my research suggested it should not be necessary. The two photos below demonstrate that using steam and the wool pressing mat, sizing products are not necessary. Not only was I able to press all fabric with success before cutting, it played well while sewing and pressed well (even on the bias) after piecing had been done. The pressing time compared to before had been significantly cut down with not needing the sizing product, but also due to the process working faster from the heat and steam coming back up through the mat from under the fabric working at both sides. This is one purchase I am glad to have made. 


The cut pieces for both blocks came out beautifully.


This perfect cutting helped my blocks assemble perfectly. First is the 12" block:


And the 6" block:


Make sure you head over to Jen's blog linked at the top of this post for instructions that include a how-to video for making the block. Jen's block instructions are always wonderfully written for quilters of all skill levels to follow. 

All this talk of sweet potatoes makes me hungry. Here's my go-to recipe for preparing them. It is a basic roasting roasting recipe I wrote up myself after researching many and settling on what would work for my family.

Roasted Sweet Potatoes

(serves 4-5)

Ingredients
3-4 medium sized sweet potatoes
2-3 tbsp. olive oil (can use virgin or extra virgin)
pink Himalayan salt (optional)

Tools
peeler
large mixing bowl
cutting mat or board
crinkle cutter or large chef knife
non-stick baking sheet or stoneware bar pan (large size for either)

Preheat oven to 425°
Bake time: 25-30 minutes

Directions
Peel and wash sweet potatoes.
Cut into 1" to 1 1/2" cubes.
Coat with olive oil in bowl and toss until even coated.
Spread evenly on baking surface.
Roast at 425° for 25-30 minutes. 
(Potatoes should be browned or even lightly blackened on sides and corner edges to show a crispy roasting has been accomplished for the exterior of each piece.)
Season with pink Himalayan salt if desired. 
Cool for a few minutes before serving.
Enjoy!

I will roast and serve these with anything from chicken to beef to pork to venison or even fish. They are easily spruced up by adding different spices if you like. Other vegetables can be added (such as potatoes, carrots, mushrooms, onions, and more) to expand on this recipe. In our house, we generally keep this simple and to sweet potatoes only enjoying the wonderful flavor they offer. 


Make sure you head to the other bloggers pages to see what stance they took on the yam vs sweet potato conundrum. Also check out their blocks and any recipes they have shared for the month. 


Make sure to head over and visit all the sponsors for this quarter thanking them for their very generous prize contributions. We are so appreciative! Here are the prizes:


Whew! That's a lot of fun information. Thank you for joining me while I take a break from college life after work to get back on top of my quilty world. I appreciate everyone who visits and leaves a comment. Let me know what your favorite recipe for sweet potatoes is, or if you like yams better. I can honestly say that I don't think I have ever eaten them, nor am I sure if there is a local source to buy them. Do they taste like potatoes? Someone needs to let me know in the comments, please.

Keep quilting, no matter what's going on in life....take that break.

Thanks!
Fawn


Friday, January 15, 2021

A Pixelated Wonder - 2020 Color Challenge Finish

The 2020 Color Challenge came to a wrap in the most amazing way. Jen from Patterns by Jen designed "Pixelated" for setting our blocks.  

Let's start by taking a look at my twelve blocks from 2020.


I chose to make all my blocks in batiks. Alas, I did not choose to make the pixelated sashing with the same material. Creating those pixels were a tad trying. My stash contained wonderful Kona solids that just happened to coordinate well with the blocks. Those solids played so nicely with other fabrics in the past that I just couldn't resist using them.
 

The strip piecing was easy enough. Truth be told, I have never used my seam ripper more on any project before this one beyond this point.

The first time I pulled jack out was after I got close to half the sashing blocks put together in groups of four. On a whim, I decided to lay some of the sashing out with a few of the main blocks. Something didn't look quite right, so I referenced the pattern. I'm a stickler with following patterns, and upon noticing the incorrect direction of color flow in the pixelated blocks, jack went to work. 

(See that ironing surface in the background? It is truly a poor man's ironing surface that is soon to go the way of the dodo.)

Yep. I completely tore apart a few of those sashing blocks down to their base strips. Then I had the epiphany to turn those little blocks on their sides. Genius! I still had some to assemble, thinking this would be the perfect plan for assembling the columns of sashing and still look correct. Oh, how wrong that thinking was, so once again I had a date with jack. Turning them on their sides avoided the issue of stretch in the fabric (a bias issue) for the rows, however, left the direction of the colors still going the wrong way in the columns. There was twisting and turning of the sashing blocks, breaking out jack to tear those blocks apart as needed, and then putting it all back together again to make it play nicely - fabric bias, color direction, and all. Then it was on to putting it all together - finally!


Yay! The top was finished for the end of the year. Quilting this fun creation will happen over the next month as I take my time giving each color block the attention it deserves. I'm going to try my hand at some free motion quilting on my machine with this quilt as it and other personal projects become the focus for the new year. 


Please head over to see how other host bloggers finished their quilt tops or quilts:

Jen Shaffer of Patterns by Jen
Joanne Hubbard of Everyone Deserves a Quilt
Roseanne Nelson of Home Sewn By Us
Sarah Vanderburgh of Sew Joy Creations
Wendy Tuma of Pieceful Thoughts

Now that you've read all about my adventures with this top and checked out the other bloggers creations, click below where you can join a special year end Quilt Show link-up Jen has created for everyone to share their completed 2020 Monthly Challenge tops and quilts.


As always, keep quilting.

Fawn

PS - While you're over at Jen's blog, check out the January block for the 2021 Monthly Color Challenge PLUS her latest pattern release - Winter Trees. I will be joining that quilty fun just as soon as possible, as well as sharing a few projects of my own. Stay tuned!


Friday, December 25, 2020

A Special Surprise...

A close family friend put in a special request for her daughter's birthday this month. I took the plunge on something I had never created before - a t-shirt quilt!


It was quite the adventure. I was given the shirts...

Here we have the front and back of each shirt.

 ...loose guidelines on patterns for coordinating fabrics...


These were mom's very loose suggestions for fabric pattern starting points.

...and overall quilt design freedom. Excitement comfortably settled in - at first - as I received the shirts during the middle of gardening season giving me plenty of time to complete the quilt.

 Then, life happened. The garden was more plentiful than we could have hoped leading to very long days my EDS body would not tolerate for the duration. My day job as a childcare professional at a local center being a lead teacher in the infant room (where I was also tasked with additional duties that required my time and attention after work) was more than enough to wear me down. What portions of this project can, and should, I tackle at the end of my work days and on the weekends - and in what order?

I would sneak in tidbits of time to look up coordinating fabrics...

Here we have the very first fabric choices I was looking at for backing and binding.

Two fabrics I purchased with full intent to use one for the backing and binding.

...or sketch layouts for the shirts. 


The layout started with the shirts arranged as they are in the photo on the right, but the size was just too small at only 45"x45". It was at this point that I decided to use the backs from the shirts that had them adding an entire row. With it still being a bit narrow, I decided to not create individual blocks, but custom cut the useful part from each shirt - front and back - and add sashing to build up to an overall column size. From there, a final border could be added to complete the top before quilting to acheive a desireable size. That final layout is what you see sketched on the graphing notebook above on the left. 

During that time, we wrapped up harvest (for the most part), and my body decided to let me know that a spring/summer spent gardening in a "new to us" way took a big toll. Every year I deal with some extra exhaustion as the season changes and the cool of fall sets in, but this year was extreme. What I normally deal with in the middle of winter was hitting me hard at the end of September. The good news is time was still on my side.


That necessary physical down-time is where I sat and triple checked numbers on my pattern design and continued looking for a suitable backing. Those measurements need to be correct for ensuring I buy enough stabilizer, backing, and have enough of the batting that I am sure is stashed. Above are good examples of why checking those numbers are so important, with the shirt on the left having a small useable space that was roughly 6"x11" allowing me to pair it with another shirt in it's own space on the quilt top. However, the shirt on the right required figuring out how to use some of the sleeve, and back if necessary, making sure there was enough fabric for the seam allowance without detracting from the graphic. The shirt on the right also happen to have a women's cut to it, creating an additional challenge. 

I had research to do on which stabilizer I wanted to use. I chose Pellon midweight knowing that I needed everything to stay put during assembly and quilting. If the stabilizer deceided to spearate or go lax after the quilt is finished, no harm/no foul. This quilt is meant to be loved and used, and this stabilizer is typically more firm, however, after all the handling, washing, and just it being used on the back of knit material, kept things quite flexible like in a typical cotton quilt. When all was said and done, I feel the stabilizer gave the quilt an extra layer of warmth for the duration more than stability for the long haul. Yes, I am aware of the purpose of a stabilizer, but I also know the final feel of this particular quilt. No regrets, and the quilt police can find something better to complain and nitpick about. See, one of the best parts of my day job is that infants and toddlers constantly remind me that tools can have uses beyond their original intent - always!
 

Next was on to choosing thread color(s) for stitching and quilting, batting, and deciding just how I wanted to quilt this creation.


With my machine, Gutermann thread runs through it the best leading me to choose this neutral grey from my stash. Considering all the colors of the shirts, using Kona in Stone seemed perfect for the background fabric. Bringing the top and back together with a border in the same fabric felt best for finishing the top off. The chosen thread happened to blend pefectly for stitching and quilting.

Then I found this gem and the chosen fabric for outer border, binding, and backing.

With this particular quilt, I chose straight line quilting with an alternating width pattern. The shirts needed to speak for them My goal was to place the memories in a way that kept certain activities together (academics, sports, etc.) and not detract from the shirts. I also strongly feel that any coordinating fabrics should look nice, but also let those start pieces shine. The fabric, Mandala Drops Marrakesh in Cream from Art Gallery Fabrics and designed by Mr. Domestic was perfect for this quilt. The fabrics I previously purchased just felt too dismal in conjunction with the shirts. Something light and happy was necessary. I feel confident saying that goal was met.  


Here we see the recipient with her children enjoying the surprise. She said she loves it and is very happy to have the memories to enjoy for many years to come.

What's something homemade that you've received that you treasure? It doesn't have to be a quilt. For me, I have a Christmas stocking that my grandmother made for me when I was very young that is personalized. It is knitted and it is glorious and I wish I could master that skill to create them for my children and grandchildren. Alas, my hands have a hard enough time typing, let alone working knitting needles. Bless my mother's heart, she has tried time and time again to teach me easier ways. It is just not meant to be. Another post for another time.

Thanks for reading and I look forward to reading what your favorite homemade treasures are!

As always, keep quilting.
Fawn