Tuesday, November 1, 2022

November 2022 PBJ Monthly Color Challenge


Cloves!

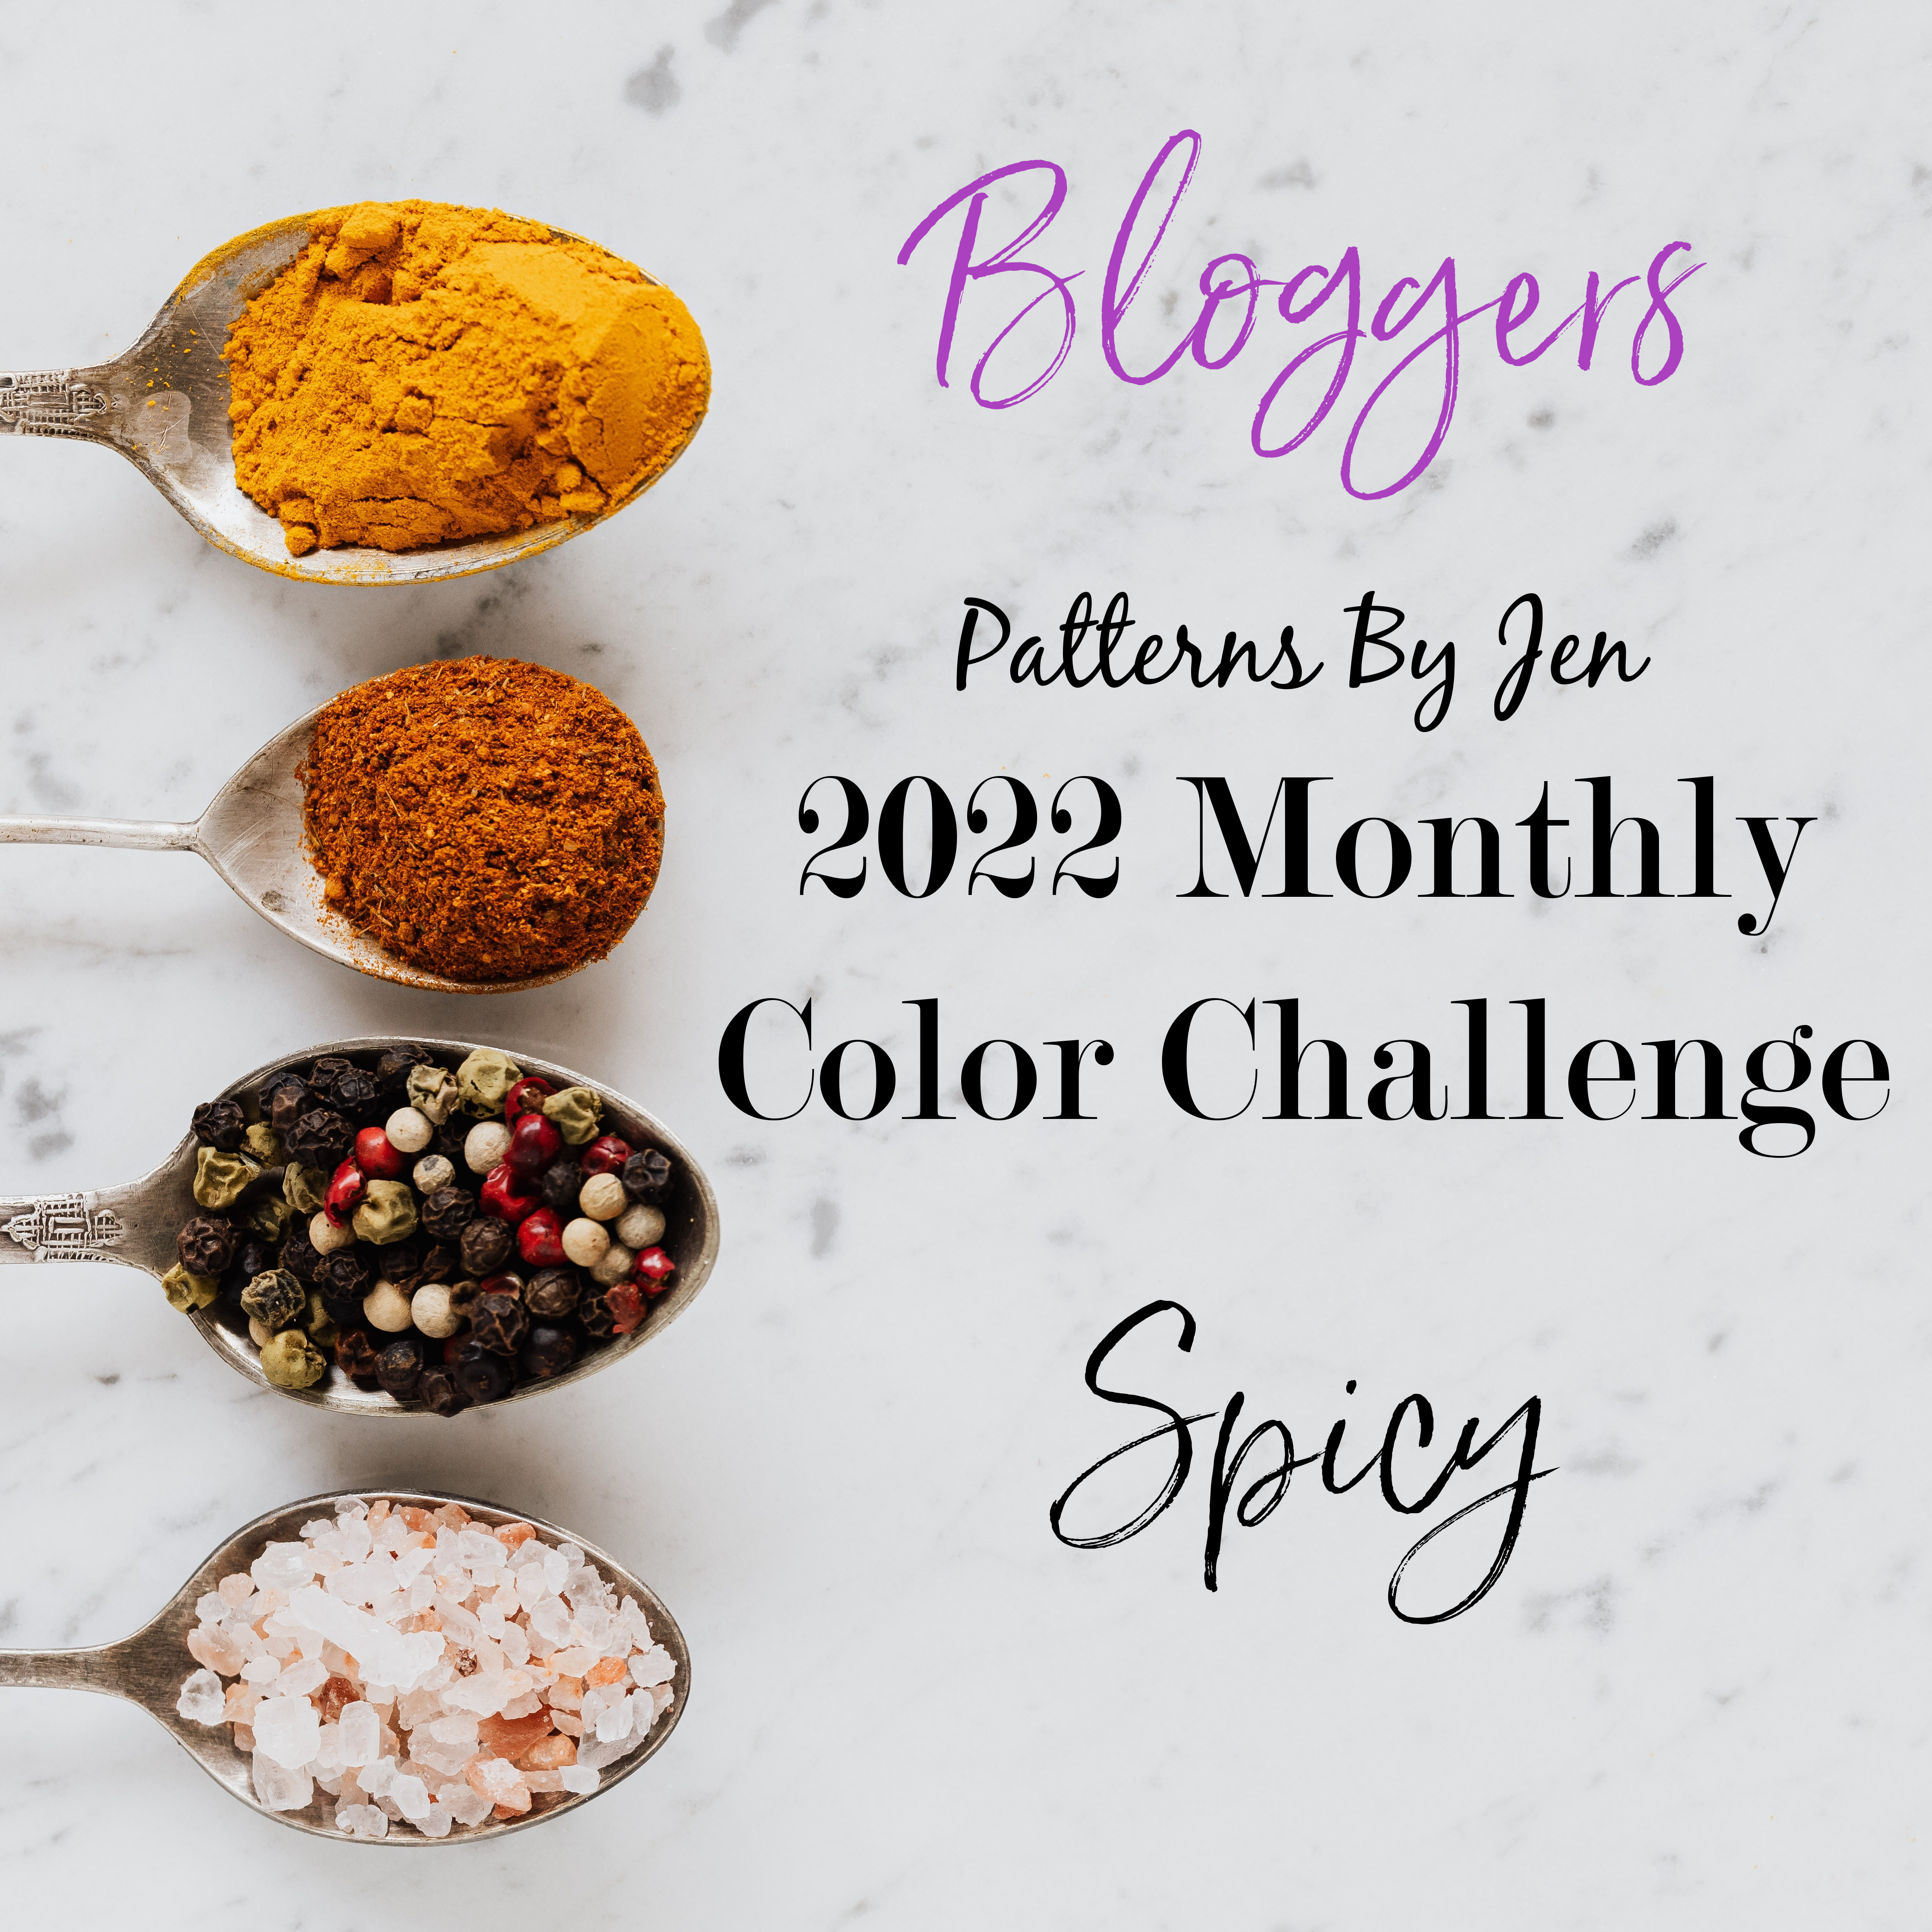
It's another fun month for the 2022 Monthly Color Challenge from Patterns By Jen where she brings us the scent and flavor of cloves in our quilting endeavors. Many think of pumpkin pie when cloves are mentioned as it is one of the key spices used to create the delicious fall dessert. Cloves are also used to add yummy flavor when baking a delicious ham. What do I use cloves for? I find them useful in canning, pies, dessert bars, and even homemade tomato soup - not from a can, but completely from scratch. Thinking about all these yummy foods makes my mouth water. 


Don't they look delicious! I have used both of these recipes - even the pumpkin pie recipe with home processed pumpkin in place of canned - and the results are always top notch.

We are here to talk about the color of cloves in quilting, so let's get to it. Cloves also have a rich neutral color with which to work. They are a rich shade of brown that easily compliments other earth tones or brings out the joy in vibrant colors. 


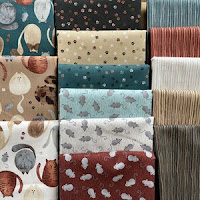
When choosing fabrics for this month's color, I chose a line that I felt comfortable turning into a quilt using all the fabrics included in the fat quarter pack. I'm looking forward to using only these two months block patterns to create a fun and adorable throw quilt. Check my August blog post for more on the fabrics. 


The little mice are so cute!

This is where I tell you that neutrals are typically not my jam. While I can appreciate quilts constructed by others using neutrals, I typically find them to be constraining. When signing up for our chosen months this year, I decided to challenge myself by intentionally choosing neutral colors. I knew that I needed to get beyond my own feelings to make these shades of brown bask in their rightful glory.


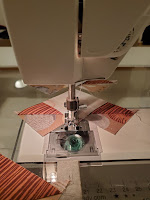
It has become practice to starch the fabrics before cutting to help ensure accuracy. Currently I use Purex brand but have used others getting the same results. 


That accuracy can be seen in the photo above. There is much satisfaction in having measurements turn out so nicely.


As you can see, there is a proportional difference between the 12" block on the left and the 6" block on the right. I can honestly say that I prefer the incorrect version of the 12" block knowing most of those corners will disappear in the remaining construction. Uniqueness also tends to be the way I lean, so...ha!


The colors are gorgeous and block fun to make. 

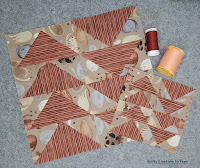
Here are a couple of pictures showing more shades of "clove" in a set of coasters I made that is the start of a bigger set going to a special someone! They are currently my favorite quilty item featuring these beautiful browns.


Remember to head over to Jen's blog for her post and to learn how to get your instructions. Then take a trip to visit my fellow November bloggers and see what their wonderful blocks.


Kathy @ Kathy Kwilts


Always remember to keep on quilting - even if life brings a few hiccups along the way. 

~ Fawn ~


Monday, August 1, 2022

August 2022 PBJ Monthly Color Challenge - Cinnamon

 August 2022 Patterns By Jen Monthly Color Challenge - Cinnamon


I hope you have enjoyed the first half of the year of quilt blocks shared with us from Patterns By Jen for the 2022 Monthly Color Challenge. There are a few things I have been able to squeeze time in for working on during those first 6 months. One of those will be featured in another post later this year. The others are my Monthly Color Challenge quilt blocks for this month, which is cinnamon, and November (stay tuned!) 

Bloggers were given the option to make a 6 inch block, 12 inch block, or both, which is the option I chose. The colors assigned to "cinnamon" varies greatly. They can be found in oranges, reds, and browns. This made choosing fabric a bit difficult. I was able to find a patterned line of fabric that had colors which met the needs for both challenge months I am blogging for this year. Yay!! 

Fat Cat from Windham Fabrics is that perfect fit. 


After a few years of struggling with the lighting in my house, I decided to purchase a light ring for getting true colors to show in my photos. It is nice to also get rid of pesky shadows. Below are three "progress" photos taken prior to the purchase of the ring. 


It is nice to have those shadows gone and the colors display as true as seen in the remaining photographs.


I love the fun and simple pattern of this block. Both the six and twelve in blocks went together quite fast. Using one of the directional fabrics makes the blocks even more interesting as I was able to play with various ways to assemble the finished flying geese units.

Jen tasked the bloggers with referencing their favorite quilt in the month's color. While this was no easy feat, I was able to choose a favorite pattern for some fabric I recently purchased that happen to meet the color scheme. The quilt pattern is another Patterns by Jen creation (I just love her patterns!) called Pinwheel Pivot. I chose to make the 22" x 42" table topper for our kitchen table that has been completed just in time for the upcoming change of seasons. This is where I was also able to capture photos displaying the color change in tricky lighting compared to using the light ring. Here are a few of my favorite photos:


The top is true to color using the light ring in the first two photos. While the quilting is more prominent on the bottom, the color is off, and everything is full of shadows.


The above three photos show progress on quilting, my first-time getting quilting completed using the stippling foot with a nice meander to show for the efforts. Figuring out the tension was key. Now to get that bigger machine for tackling those large projects sitting in my WIP stash.

The runner looks beautiful, and I am excited to display it on my dining room table this fall.


Take a look at my finished six- and twelve-inch blocks below. I think another table runner is in order using these and November's blocks. With having drawn up a pattern for a table runner, I think it would be good to make it. I'll post more about that with the November block!


I hope you'll head over to Patterns By Jen to get your block and join the fun!


Make sure you check out the other blogger's posts for even more quilty inspiration:

Patterns By Jen

Katie Mae Quilts

Anja Quilts

Textile Time Travels

Sunflower Stitcheries


I am going to spend some time in my garden and tackle finishing up a few surprises for future blog posts. Thank you for reading and keep on quilting!

Sunday, January 9, 2022

It's all a Sham!

It's all a Sham!


These Art Gallery fabrics have been hanging out in my sewing space for a couple of years. Originally, they were purchased to build my stash with fabrics that were outside my typical pallette to use as needed. Over time that changed, and they were then going to be used for making masks. My chosen mask patterns never did turn out quite big enough for me to wear comfortably to warrant continuing with that venture (though many sit there half finished). There the fabrics sat waiting for inspiration to hit once more.

An annual quilt challenge season resumed January 2 and inspiration struck. Not for a quilty project, but a new pillow sham! 

How I needed this project. Not tied to a challenge. Not tied to an obligation. Very quick and easy to assemble, this was perfect for getting me back to my sewing machine after such a busy 2021.


The fabric I had to work with was 5"×43" for each color. I cut those to 2.5"×43", then stitched them together on their long sides. With six fabrics, this gave me one large piece that was 24"×43" - perfect for most of the sham. 

All that was needed was fabric for the overlap of the sham. A couple of the prints had extra cuts, so I cut four strips to add just that little extra. Six strips were truly needed for the size of the pillow, however, I found a work-around. Bring in the one snap I had in my stash for the win!! A little hand stitching with a LOT of patience (my fingers do not like hand stitching anything), and the sham was complete. Yay! 


Have a jelly roll that needs a project? This one is quite simple. You can create any size sham. Make sure the sham finishes at the same size or even 1/2" narrower than the insert you want to use if the insert is not too firm. The overlap on the back should be 2 1/2"-3". (Mine was only 1 1/2" at best.) If the insert is firm, make sure the sham finishes at the size of the pillow.

Do you make shams? What is your favorite way to close them - overlap, zipper, something else? Share your ideas in the comments. 


On to finishing a WIP for the end of the year.


Keep quilting!

Fawn